Getting Started with Node.js: Part 2
Welcome to Part 2 of Getting Started with Node.js. In Part 1, we installed Node.js and ran our "hello world" file through the command console. This is only going to excite you if you are really into learning or have just heard about Node.js... otherwise, it lacks any kind of useful behavior. Node.js becomes really awesome when we can use it as a webserver to serve web pages.
Before we get started, I'd like to mention a few things. If this doesn't make much sense to you, even after this brief tutorial, do not fear! These "Getting Started" articles are small pieces in a much larger puzzle. In my classroom, we will spend much more time diving into all of this. Right now we're just skimming the surface, exchanging full understanding for quick results. But, back to it! ;)
Let's take the same file, start up a Node.js server, and run the file in the browser. This is the goal of using JavaScript as a backend language after all! If you haven't done so already, please read Part 1. We finished with the ability to type:
node hello.js
in the console. This would print hello world to the console. Our goal in Part 2 is to get to these two points:
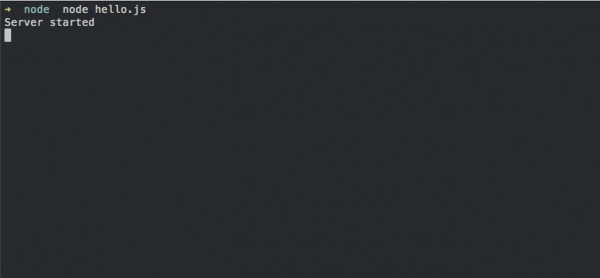
1. Your terminal/console window showing your server is running.
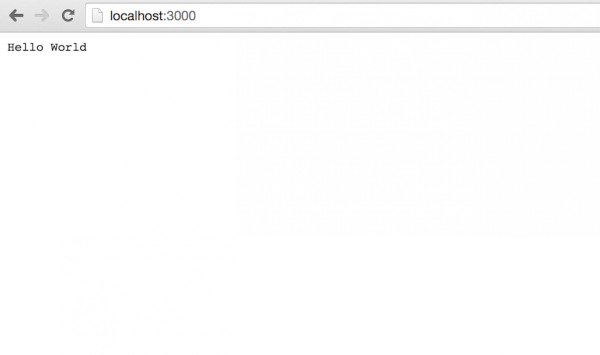
2. Your browser displays the page on the server.
So, let's get started! To begin, make a new file called hello.js and add this line to it:
var http = require('http');
You will see this as the first line in many, many node applications. It tells your program to include the http module. For more information (and good sleeping material) you can read the docs at here, but this basically allows use of the http protocol as we set up our simple web server. We will define the port we want Node to listen to in a second, but we now have access to HTTP.
Now add:
	http.createServer(function (request, response) {

//code will go here

}).listen(3000);
createServerwill return a new server object using the http variable we just created. We are creating a function as a parameter for createServer. Then we add two parameters to the function, “request” and “response.” They are passed in by the HTTP server whenever there is a new connection. This just means that the web server let’s us see what it sent and what it got. We also add the listen method to the function at the end. This makes it so that whenever there is an HTTP request to the web server, in our case opening a webpage, the code inside the listener will run. JavaScript will tirelessly watch forever, as long as the server is running. The parameter for listen is the port number you want to listen on. I chose 3000, just because we have to put it somewhere, and I don't want to mess up your regular browsing activity.
Let’s put some code in place of the “code will go here” so that something happens with an HTTP request (hitting the page with a browser) is made. Replace that line with this:
response.writeHead(200, {

'Content-Type': 'text/plain'

});

response.write('Hello World');

response.end();
“response” is the response the server got back and now we are going to act on it. What will we do? Use the writeHead method to set the headers. This means we want to tell the thing making the request (again, the browser) how to display what we are going to send it. “200 “ is the code for “Everything is OK” (there are a variety of possible codes), and we set the content-type to “text/plain.” This is what the browser needs to see in the http header in order to render html.
Lastly, we add:
response.write('Hello World');

response.end();
response.write will write the text to the thing we are going to send back to the browser and response.end says we are done. Like “Over and Out!”
I like to include this next line at the end as well. This is so we can see in the console that the server is running without error. If you see “Server started,” that means you got through in one piece.
console.log('Server started');
So, our final code looks like this:
var http = require('http');

http.createServer(function (request, response) {

response.writeHead(200, {

'Content-Type': 'text/plain'

});

response.write('Hello World');

response.end();

}).listen(3000);

console.log('Server started');
Save this into your “hello.js” file and go back to your terminal. Type:
node hello.js
Then go to your browser and enter “localhost:3000” in the URL bar. What do you see? Not much more than 'Hello World' on the screen, but there is more than meets the eye. You have set up a webserver that is serving and handling http requests! With this base, you could make entire applications in nothing but JavaScript! Use command-c to shut down your node server.
That's it for this post, I hope you enjoyed it. What else are you all interested in learning? Shoot me an email at hello@digitalcrafts.com with ideas!
Until next time,

Resources
Admissions
About Us
- Institutional Catalog
- Privacy Policy
- Terms of Use
- Do Not Sell or Share My Info
- About Our Ads
- Student Disclosures
© American InterContinental University System, Inc.
DigitalCrafts is part of the American InterContinental University System. Not all programs are available to residents of all states. See the Accreditation and Licensure section for information on the agencies that approve and regulate the school's programs.
View complaint procedures
Atlanta: 500 Embassy Row, 6600 Peachtree Dunwoody Road, Atlanta, GA 30328
Online: 2200 East Germann Road, Suite 100 · Chandler, AZ 85286